Auxiliary Lighting

One of the earliest mods on the H3 was the installation of a pair of Hella 700ff lamps to the grille guard, and while they doubled my visibility off-road, I wanted more shine on the peripheral, and closer to eye-level. I also wanted illumination off the rear of the H3 for backing and working to set up camp in the dark of night, as well as work lights coming off the side of the vehicle. We do a lot of night travel in the Summer with daytime temps past the century mark.
I went with Hella 500ff lamps for the peripheral lighting, mounting them to the air-intake covers at the A-pillars. The air intakes are a composite of two layers, the painted shell and an inner layer that mounts to the frame. The lamps are mounted aft on the intakes with stainless steel washers underneath to reinforce stability.

On top, the lamps sit on white nylon bushings to protect the finish and provide friction in adjusting the fixtures. The bushing is surrounded by a black zip tie that binds the wiring to the base, eliminating wind noise.

The rear bumper holds two 4" Cree LED 60 degree flood fixtures close to each end just ahead of the rear plastic end caps of the body work.

These tuck in nicely into a space outside of the rear door's clearance. I initially wanted them higher as a work light, but with the rear awning attached to the roof rack, there wasn't a place to mount them without drilling into the plastic D-pillar covers. I'd rather drill into the bumper, have more stability, and less conspicuousness.
Jut behind the fixture is an access plug to the mounting bolts of the end caps. I drilled through these and placed a grommet through which pass the wiring of the lamps.

I made a waterproof harness underneath the truck using a Lamphus Cruizer Off-Road wiring harness. I had to modify for length, running the distance from the end cap to the engine compartment along the driver side frame rail above the fuel tank to its relay mounted in the engine bay on the driver side wall behind the battery.
Two Kawell 18W LED fixtures have been mounted on each side of the Garvin roof rack and serve as worklights.

I used another Lamphus Cruizer harness, modifying for length and weatherproofing. The wiring from the rack enters the channel on the H3 and is pulled under the black plastic cladding down the driver side A-pillar to the relay in the engine compartment.
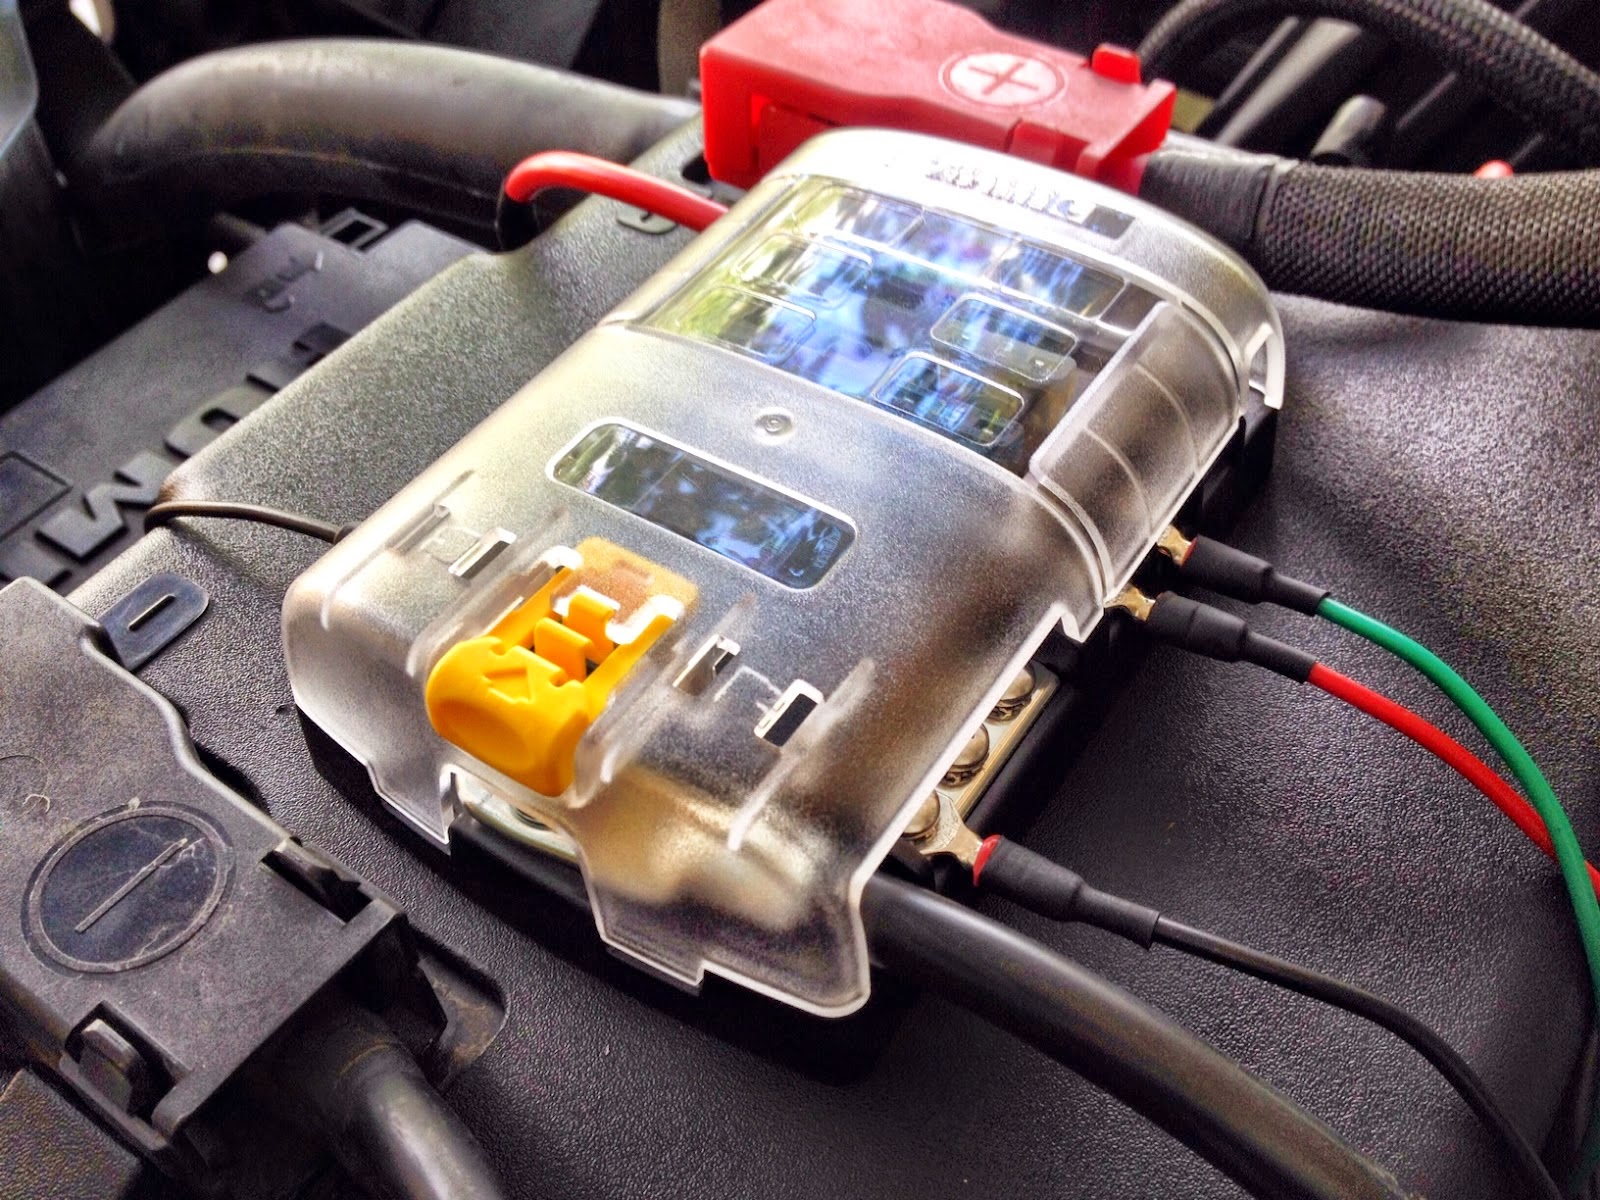
All the wiring terminates at the Blue Sea Blade Fuse Box. There are six positive terminals on this, twelve if I modified the Blade. This has taken everything so far including the CB, but is now maxed out.

I moved the CB circuit to the factory fuse box on an aux circuit to make space on the blade for the work light circuit.

I wasn't sure what to make of the Cree and Kawell LEDs given their $26 tag, but I'm very impressed. I noticed that Hella uses the same Kawell fixture for their brand. We'll see about their ruggedness.

I knew the LEDs would give me a different color temp off the back of the truck. I wanted this. Some might wonder why I went old-school tungsten on the front - I did it to match color temps on the OEM headlights and driving lamps and because I'm old school.


See the difference.