Posts

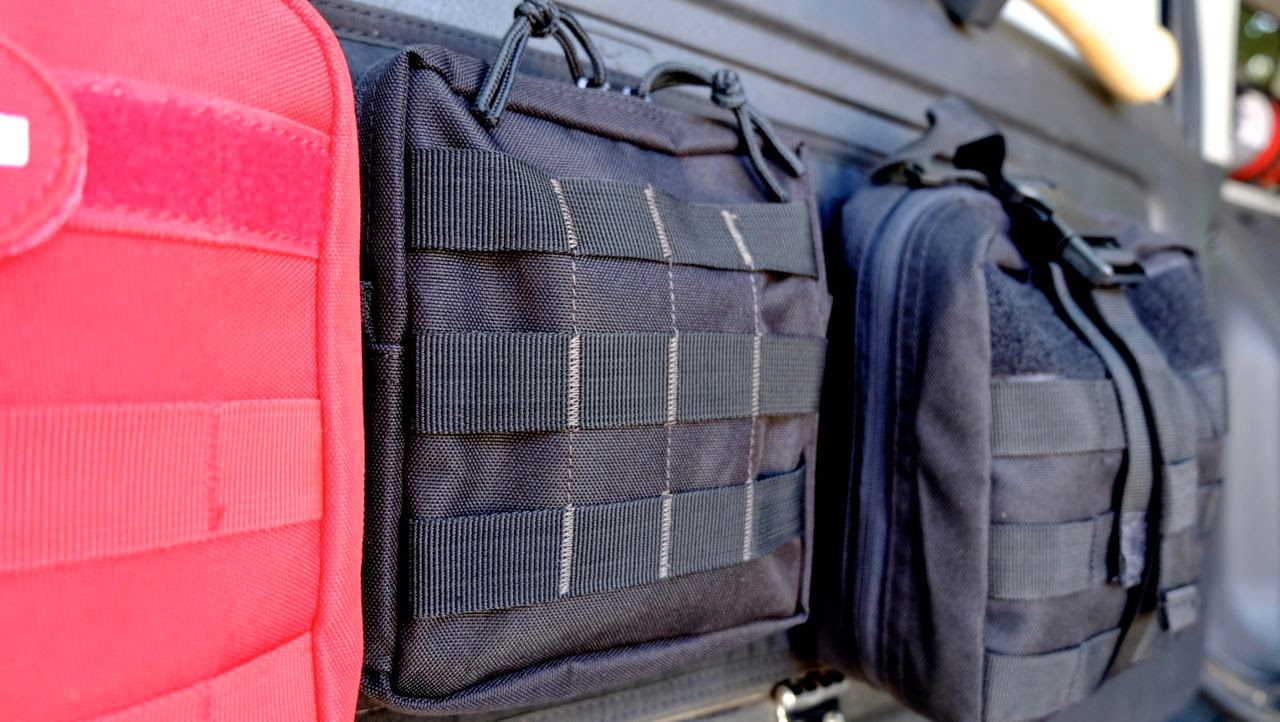
3VGear MOLLE Utility Pouch
Image
Not one to let unused space go, I filled up the MOLLE panel on the H3's rear door with pouches, the middle one from 3VGear, the three V's being veni, vidi, vici, the infamous "I came, I saw, I conquered." Not sure how this little pouch is going to amount to that unreasonably high expectation. It's well-made save for a little snafu in the zipper. It hangs on a bit of the 600 Denier PVC-back poly sewn into its path. But, it's a nice zipper, silent like on the Voodoo EMT pouch. Nice long attachment points and a grommet for draining. This bag works well for my set-up and was a reasonable value at just under $11 on Amazon. I'm wishing I got two.

Voodoo Tactical EMT Pouch

Image
I constructed a breakaway first aid kit on the Montero that was stowed in a small Pelican case. I used it once on the scene of a rollover and appreciated its immediate accessibility. The H3 has nothing like it, so the first thing I added to the MOLLE panel (that I added to the rear door panel) was an EMT pouch made by Voodoo Tactical. It's a clamshell design with two-way zippers and silent pulls. Triple row length MOLLE tabs and a grommet on the bottom for drainage.   Military spec, excellent craftsmanship.

VIAIR 300P Portable Compressor

Image
On board, under the hood or portable has been the question in considering an air compressor, once I determined that VIAIR has the most to offer in any of those domains. I went with the 300P Portable. It's a 150 PSI pump that connects to 12V via two alligator clamps to the battery posts rated to fill up to 33" tires. If I decide to go 35s I'll upgrade to an on-board system. It has an inline tire pressure gauge, and a locking deflator/inflator that makes it easy to dial in pressure up or down. Cycles for 15 minutes with engine running. I've yet to overheat it and have been impressed with its inflation time versus previous portable compressors.

Safari Straps Cargo Net

Image
With the dog deck install , I needed a way to secure cargo in the rear area and decided to go with a cargo net from Safari Straps. I ordered a 41X28 1" net from Amazon and installed it. It's dimensions were just about perfect. I attached the net to the seatbelt guides that are bolted on the C-pillars. The base of the net is attached to hardware loops that are welded on the sub-structure that I remounted.   I've since secured the top of the net to two anchors I installed in the ceiling. The 60/40 split spring-loaded doors are still accessible for stowing smaller items. The cargo net is stout in its construction and very secure in its mounting providing a safety barrier between the cargo area and the dog-deck. 

Dog Deck

Image
Our dogs spend more time than any backseat passengers in the H3, as they did when we had the Montero. I did a rear-seat mod on it to make dog travel easier on all of us. Having made a great improvement in traveling with the Goldens, as well as increasing storage capacity, I decided to do the same on the H3. Rear-seat removal is straight forward, remove the bottoms from their easily accessible mounts, and then the backs. The 60/40 seat back is mounted on a sub-frame that keeps the backs aligned and rigid. With everything out, this is what's left. I removed the seat-backs from the sub-frame and reinstalled it. There are two spring loaded doors integrated into the transition that kept debris from falling in between the seats and the cargo area. I though these might be nice to maintain an access to the underside of the platform. I then made stanchions out of off-the-shelf fencing hardware from Lowe's, four of which were shaped to measure from the floor to just ab...

Bilsteins & Leveling

Image
From what I can tell by records and wear, the H3 had the OEM shocks at 125k miles. Its handling is lethargic and reminiscent of an old Buick Electra in its floating feel, characteristics no one wants in an adventure vehicle.   After researching applications and reviews I decided to replace the shocks at all four corners with Bilstein 5100 Series shock absorbers. The installation is straight forward though one might think it necessary to access the shock tops in the front through the engine bay - it's not. It's all accessible within the wheel well.  The rear install is a snap.  After the install I adjusted the torsion bars on both sides while the vehicle was still on jack stands and before I remounted the wheels. The bars terminate just behind the B-pillars where the adjustment points can be found.  I tightened these 27mm bolts two and on half turns, increasing the tension on the torsion bars, and combined with the Bilsteins, lifted the front end, re...

N-Fab Grille Guard

Image
Another lesson gleaned from adventuring in the Montero was worrying about its front-end vulnerability; there was little protection for the radiator and oil cooler. The H3 is definitely more robust, but the frame terminates at the shackles leaving everything above them at a bit of a risk. The N-Fab guard has a stinger-like design to part a way through brush and debris and it has tabs to mount auxiliary lighting upon which are mounted a pair of Hella 700ff lamps. I bounced back and forth between this design and the more conventional brush guard that integrates better into the H3's facia, but given our off-road history the N-Fab hardware will serve us better. The guard mounts using the stock hardware that attaches the shackles to the frame. This will also serve as a foundation for a fabricated winch mount.